Automobile
Everything You Need To Know About Car’s Battery Voltage

Battery voltage is one of the main concerns in the car that must not be overlooked at any cost. When battery malfunction happens, many people do not bother to look for the battery voltage, rather they rush to change the battery or repair it.
The battery voltage in the car is mostly misinterpreted as well. You must know that the average automobile battery is a 12-volt Direct Current (DC) battery, which is the straightforward response to the query, “How many volts is a car battery?”
However, you need to remember that the battery voltage may vary based on several factors including the car model and mileage. You must test the battery voltage in your carto examine its health and condition to troubleshoot on time. Delaying the repair is never an option as the battery powers the major parts of the car. Hence it is very necessary to be aware of the battery voltage in your car so that the car runs at optimum condition.
What should be the ideal battery voltage?
Before knowing anything else, you must get a clear idea about the optimum battery voltage for the car. Because only this way, you will be able to handle the variations in the battery voltages.
When not connected to any external devices, a fully charged car battery for the majority of automobiles including the Fuso Fighter Mignon, should have a voltage range of 13.7 to 14.7 volts. The battery is guaranteed to be running at its best within this range. Nevertheless, the voltage falls as the charge does.
For instance, the battery’s voltage will be approximately 12.4 volts at 75% charge and drop to about 12 volts at 25% charge. The battery is approaching depletion and may require recharging or replacement when its voltage falls below 12 volts.
You must understand that automobile batteries are made to function within a very particular voltage range, and that variations from this range can damage the electrical components of the vehicle.
All systems function properly when voltage levels are kept within the advised range. Any notable deviation from this could result in problems like broken electronics or even a total system breakdown. You can avoid costly repairs and annoying breakdowns by keeping an eye on these voltage levels and acting quickly when the battery starts to fall below the threshold.
What is the best way to check the car battery?
It is rather easy to check the voltage of your automobile battery with simple instruments like a multimeter or voltmeter. Touching the positive and negative terminals with the appropriate cables after setting the voltmeter to its highest value will allow you to measure the voltage. This will provide you with a real-time reading of the voltage of your battery. It’s also important to test the battery after the car has been off for some time, ideally overnight, for the most accurate results.
There are still some methods to assess the condition of the battery if you do not have access to a voltmeter. One way is to start the engine after turning on the headlights. Consistent brightness indicates that the alternator is still generating some current, while dim headlights may be a sign of a poor battery.
A multimeter, which is widely accessible and reasonably priced, can be used for a more precise evaluation. The optimal voltage reading when using a multimeter is between 12.4 and 12.6 volts whether you are driving a Toyota Hilux for sale or any other Sedan. The battery is probably not fully charged and may need to be serviced if the reading drops below this. When you find such a condition, know that it is time to give it a proper service. Also, if the battery age is exceeded, you must change it and not leave it in your car. The malfunctioned and misaligned battery voltage may harm other components of the car leading to expensive repairs.
Battery load testing is a must
Doing a load test on the battery can provide a more comprehensive picture of its condition in addition to monitoring the voltage. A load test gives further information about how well a battery withstands stress by simulating the demands made on it during regular vehicle operation.
A 30-second load test should yield between 9.5 and 10.5 volts from a healthy battery. Your battery could not be holding enough energy to power your car’s electrical systems effectively if it can’t sustain this range.
Your battery may have a more significant problem if it consistently displays voltage readings below 12 volts or fails the load test. In these situations, the battery’s performance may be momentarily enhanced by jumpstarting it or adding distilled water, although these fixes are frequently temporary.
The best way to prevent such issues might be to replace the battery. Frequent load testing helps keep your car operating smoothly by spotting these issues before they get out of hand.
How often you should check the car’s battery?
While knowing how to test your car battery is crucial, it’s just as critical to know how frequently you should run these checks. Testing your car’s battery on a regular basis helps to keep it in good shape and prevent unexpected failures. Before winter arrives and before summer arrives, the majority of experts advise monitoring your batteries at least twice a year. This is due to the fact that excessive heat or freezing of internal fluids can have a major effect on a battery’s function.
Furthermore, testing the batteries before you resume driving your car after a prolonged period of inactivity, like the winter, can help you avoid being caught off guard by a dead battery. By checking your battery on a regular basis, you can monitor its condition and take appropriate action if voltage levels start to drop. This preventive measure guarantees that a failing battery won’t surprise you, particularly in circumstances when dependability is essential.
Let’s Sum Up
The reliability and performance of your car can be greatly improved by knowing how many volts your battery should have and testing it frequently. Despite its seeming simplicity, the typical 12-volt automobile battery is essential to the operation of your car’s systems. Monitoring your battery’s voltage with a voltmeter, multimeter, or load test can help you see possible issues before they become expensive repairs or inconvenient breakdowns. Regular maintenance is essential, and you can make sure your car’s battery remains in top shape all year long with these simple checks.
When you are driving a car, it is very often, you may have some accidental or sudden issues in car components. If you are a very frequent driver, then it is a must to know a bit about fixing the issues in your car.
The car brake is one of the main or an important component that helps you to keep control over your car on the road. When it gets disturbed or get worn, it may cause very serious or horrific accidents that could be fatal as well.
Brake pads, on the other hand, are one of the main components of the brake system that may also have issues. Here is how you can identify and fix the issues before they get worse.
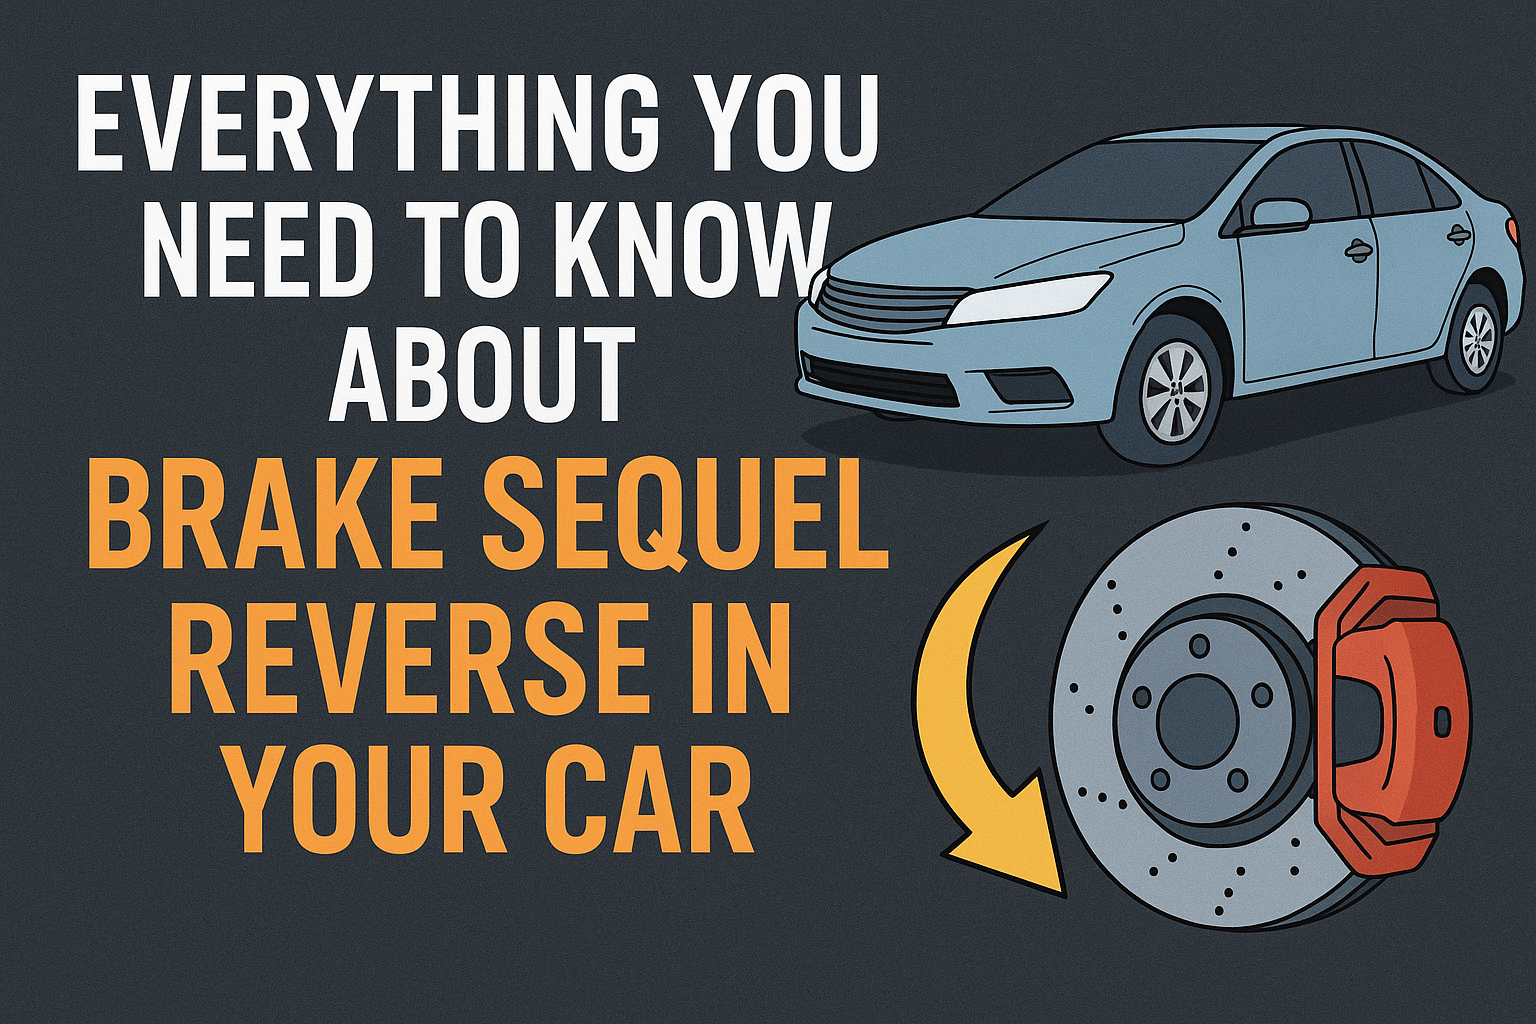
Does the rear brake strike the rotor?
In some vehicles, particularly those equipped with four-wheel disc brakes, the squealing sound while reversing can be caused by the rear brakes lightly striking the rotor. This is usually due to the caliper mounting position and the wear indicator on the brake pads.
When you drive forward your Toyota Land Cruiser 4 door pickup, the spring tension keeps things quiet; however, when you reverse, the tension changes slightly, and you may hear a squeal.
This is not necessarily a flaw or a sign of damage. It’s more of a design feature in certain models, where the system naturally behaves in reverse gear. Although the sound can be annoying, it has no effect on braking performance or safety.
However, if you notice any vibrations or uneven braking in addition to the noise, you should have the system inspected.
Why do brake pads get damaged and are unable to be installed properly?
If your car only squeals when backing up, it could be that the brake pads are damaged or improperly installed. During replacement, small metal pieces or clips are occasionally forgotten or incorrectly placed, resulting in annoying noise. When applying reverse pressure, a missing or loose shim can cause the pads to vibrate against the rotor surface.
When replacing brake pads, it is critical to ensure proper installation. Even minor mistakes during assembly can cause squeaks or uneven wear later on. If the sound persists after replacing the pads, have a mechanic remove and inspect the brakes again to ensure that all components are properly seated and nothing is rubbing against the rotor unnecessarily.
How does the wear indicator bar makes contact?
Most modern brake pads include a wear indicator bar, which alerts you when the pad material has worn thin.
When this metal bar comes into contact with the brake disc, it makes a distinctive squealing sound. This sound may occur not only when reversing, but also while driving forward. Essentially, it’s your car’s way of telling you that it’s time to replace your brake pads.
Ignoring the squeal can lead to bigger problems later. Once the pads are completely worn down, the metal backing plate can begin grinding against the rotor, severely damaging it.
So, if the squealing has become frequent and consistent, don’t put off getting new pads installed. Replacing them early will save you money on future repairs while also keeping your braking system efficient.
Is dirt an issue between a pad and a disc?
Another common cause of squealing brakes in reverse is debris caught between the brake pad and the rotor. Small rocks, dust, or even rust flakes can become lodged in this area, causing the high-pitched sound whenever you press the pedal. Because the braking surfaces are metal, even the smallest object can cause a lot of noise.
Cleaning the brakes often resolves this problem quickly. Use a brake cleaner and a soft brush to clean the caliper, pads, and rotor surface. Just don’t spray cleaner on rubber components or seals because it can cause them to dry out. Once cleaned, the squeal usually goes away, and you’ll notice smoother braking both forward and backwards.
What happens if lubrication is lacking on the brake pad?
To operate quietly, brakes require proper lubrication at specific points, in addition to friction. Each brake pad has a thin metal plate on the back that makes contact with the caliper. If these surfaces are not properly greased, metal-on-metal contact can cause squeaking, particularly when reversing.
A small amount of brake grease on the back of the pads reduces noise and vibration. However, be cautious not to apply too much. Excess grease can attract dust and result in uneven braking. A thin, even layer is sufficient to prevent squealing without compromising braking performance. If your brakes have recently been serviced but continue to make noise, the mechanic may have skipped this step during reassembly.
What troubles does a faulty brake pad sensor cause?
Some vehicles include electronic or mechanical sensors that alert drivers when their brake pads need to be replaced.
Even when the pads are not completely worn out, these sensors can become defective or overly sensitive as they rub against the rotor over time. When reversed, this results in a squeaky or metallic sound.
If you hear this sound, it’s best to replace the sensor right away. A new sensor will restore proper function and eliminate any unnecessary friction, allowing your braking system to work smoothly again.
Why should uneven wear on the brake disc be fixed immediately?
If your brake discs are unevenly worn, you may hear noise while braking in both directions, but it is usually more noticeable in reverse. Uneven wear occurs when the surface of the disc does not make consistent contact with the pads, resulting in vibration and squealing sounds. This can occur over time due to heat, corrosion, or the use of low-quality pads.
In such cases, resurfacing or replacing the brake rotors typically solves the problem. It’s also a good idea to replace the pads at the same time, so that the new parts wear evenly. Once the surfaces are smooth again, the squealing should stop and you’ll have more consistent braking performance.
What does the noise from the steering or the belt mean?
Sometimes the sound you hear when reversing is not caused by the brakes. When backing out of a driveway, most drivers completely turn the steering wheel, putting additional strain on the power steering system. If the belts are slightly worn or loose, they can produce a squealing sound that is easily mistaken for a brake problem.
If the squeal occurs while turning the wheel or immediately before shifting from reverse to drive, the steering system is most likely to blame. To confirm, have a mechanic inspect the belts and pulleys. Tightening or replacing a worn belt can usually resolve the issue immediately, restoring quiet and smooth operation when reversing.
What is the right way to fix the squealing brakes?
The best way to stop your brakes from squealing in reverse depends on the source of the noise. If the problem is dirt or rust, a thorough cleaning of the rotors, calipers, and pads with brake cleaner is usually sufficient. Replace worn or low-quality pads with higher-grade ceramic pads to significantly reduce noise. Ceramic materials outperform metal pads in terms of high temperature performance, dust production, and noise retention.
Also, keep your brakes properly lubricated and have them inspected on a regular basis. Regular maintenance not only eliminates squealing, but also ensures your safety on the road. If you’re reinstalling wheels after working on the brakes, use a small amount of anti-seize compound to keep the bolts from sticking again. A little attention to these details can help keep your braking system smooth, quiet, and reliable.
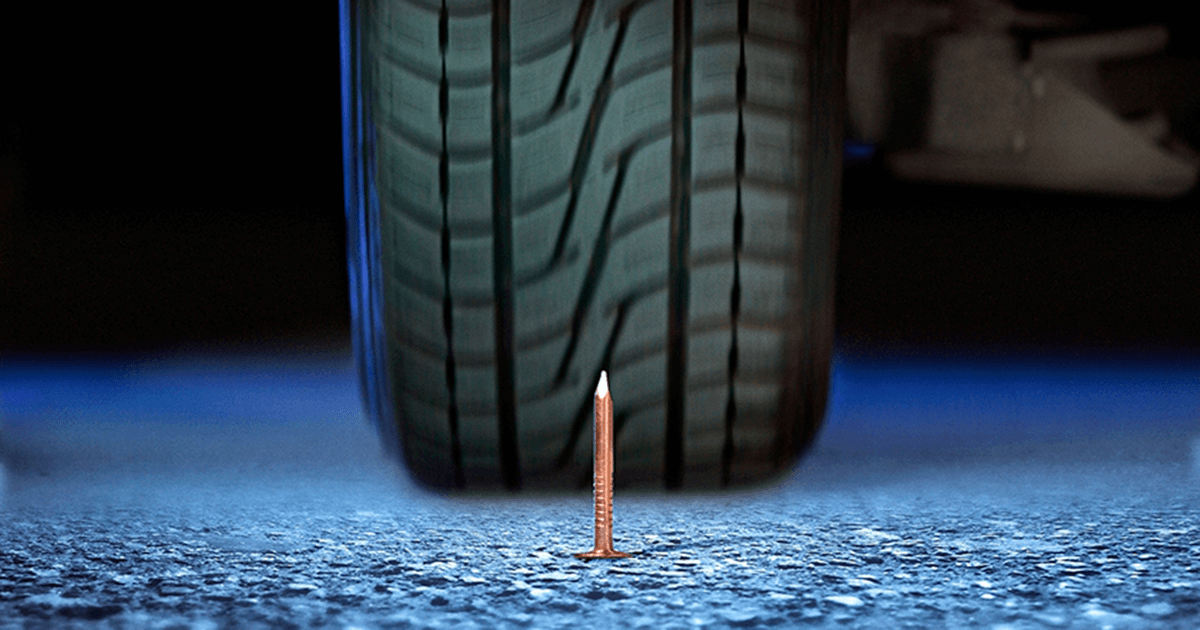
You see a nail protruding from one of the tires, which is one of those annoying moments that seem to occur immediately after you’ve spent money on new tires. Even though it might not always result in an immediate flat, most drivers have encountered this at least once, so it’s never something to overlook. At first glance, driving with a nail in your tire might seem innocuous, especially if the tire is still holding air. However, if you leave that tiny metal object in your tire unattended, it could cause major problems. The difference between a quick fix and a complete tire replacement can be determined by knowing what to do and how quickly to act.
Can You Drive While Having a Nail in Your Tire?
As long as there isn’t a rapid air leak, it’s usually okay to drive a short distance with a small nail in your tire. Your tire pressure may stay constant for a while because some nails only penetrate the outer rubber, not deeply enough to result in a leak. But that doesn’t mean you should put off getting it checked or keep driving normally. You don’t want to experience a sudden loss of air while driving at high speeds, and the longer you drive, the more likely it is that the nail will shift, loosen, or enlarge the hole.
It’s best to pull over and check for damage if you see the tire deflating or notice any changes in handling. Avoid blowouts by calling for roadside assistance or towing your car to the closest tire shop if the tire is rapidly losing air. However, if it appears stable, you can drive cautiously and slowly to a repair shop. The important thing is to move fast, regardless of how small the puncture appears. The longer you wait, the more likely it is that the tire will get irreparable damage.
How to Respond if You Find a Nail in Your Tire
You should safely pull over and check the tire as your first course of action. Attempting to remove the nail yourself is not advised if it is visible and the tire is losing air. Should you remove it without caulking the hole, the air will escape even more quickly. Switch to your spare tire if the tire has already gone flat, or call roadside assistance if your car doesn’t have one. Park in a safe spot away from traffic and activate your hazard lights in the interim.
You can drive to a nearby tire shop if your tire still looks inflated, but proceed cautiously and slowly. Stay away from highways and abrupt turns that could strain the injured area. While tire sealants and plug kits can be useful in an emergency, they are not long-term fixes, so some people try to use them to get by.
Since the sticky chemicals can harm the wheel rim or the inside of the tire, using them can actually occasionally make the professional repair process more difficult. The best course of action is to leave it to a professional as soon as possible.
Should the tire be replaced or repaired?
Depending on the size and location of the puncture, you may be able to fix the tire or need to replace it. The decision often comes down to safety and budget—much like when comparing maintenance costs or checking the Hilux Champ price before making a purchase.
The tire can usually be safely repaired if the nail has punctured the tread, which is the thick, flat part that touches the road, and the hole is less than a quarter of an inch wide. The tire’s integrity can usually be restored and many more miles can be driven with a technician-installed patch or plug. It might not be safe to repair it, though, if the puncture is too close to the sidewall or if there are several holes close to one another.
You should always replace tires that have been punctured in the sidewall. As the tire rolls, the sidewall flexes, making any patch impossible to apply for an extended period of time.
Driving on a sidewall that has been repaired increases the risk of the tire rupturing under pressure, endangering both your safety and the tire itself. Likewise, the only choice is to replace the tire if the puncture is too big or if it has already been driven on while flat. Although the initial cost may be higher, it guarantees that your car will stay stable and safe while driving.
How to Identify a Tire Puncture
Occasionally, you might not detect a nail in your tire right away until you begin to feel uneasy while driving. A gradual decrease in air pressure is among the first symptoms. Your dashboard may display a low-pressure warning if your vehicle has a Tire Pressure Monitoring System (TPMS). Older cars may have tires that appear slightly deflated or that continue to lose air even after being refilled. There’s a good chance that something sharp is embedded in the tread, so it’s worth looking more closely when that occurs.
It may also take more effort to accelerate or you may feel your car pulling to one side. Strange sounds, ranging from gentle thuds to slapping sounds as it flexes against the road, can be produced by a punctured tire in extreme situations. These are blatant signs that something is amiss. Driving on a damaged or underinflated tire can quickly result in a blowout, which can harm the rim and suspension parts in addition to being dangerous. It is best to halt, inspect, and check the tire before the situation worsens.
Read Also: 5 Things That Tell About A Bad Engine Control Module In Your Car
Healthy Mouth, Happy Life: Why Your Dentist Matters
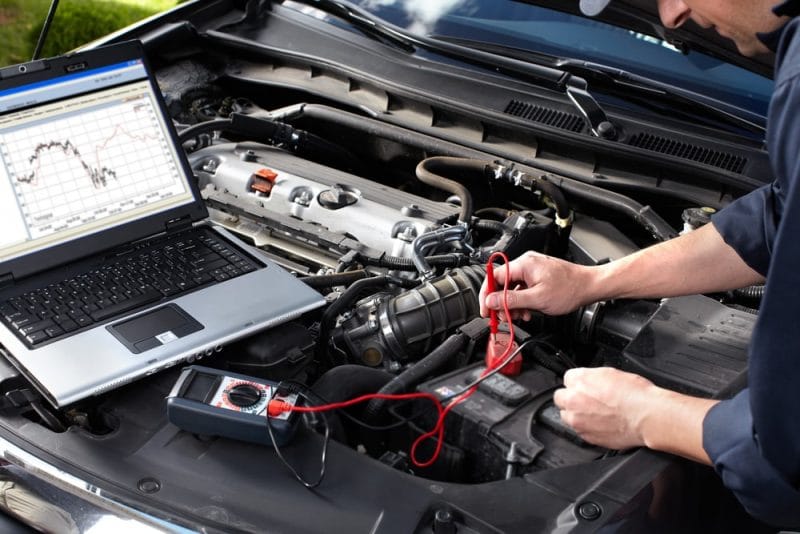
One of the most crucial parts under the hood is the engine control module, also known as the ECU. It sends and receives signals continuously to maintain the engine’s smooth operation, much like the brain of the vehicle. From timing to fuel delivery, the ECM regulates nearly every element of your engine’s operation. When it starts to break down, even in small ways, you’ll notice that your car acts differently. The difficulty is that the typical driver may not immediately recognize the issue because its failure symptoms often resemble those of other problems.
You can avoid needless repairs, many hours of guesswork, and even being stranded with a non-starting car by being aware of the signs of a failing ECM. You can address the issue before it becomes a major expense if you recognize these warning signs early. The ECM is so important that issues with it usually show up in ways that are very obvious, even though modern cars have a lot of sensors and electronics that can generate alerts for various reasons.
Is your engine light working well?
One of the first and most common signs of a failing ECM is the check engine light turning on unexpectedly. All contemporary cars have this indicator, which can signal a number of issues, including an ECM malfunction. The light turns on when the computer notices an irregularity, like a low sensor reading, a circuit failure, or an electrical problem with the module itself. The system uses this warning light to identify a chain reaction that may be caused by a malfunction in the ECM, which keeps an eye on numerous processes.
The tricky part is that the check engine light doesn’t let you know that the ECM is the problem. To be sure, a diagnostic scanner would be required to read the system’s stored trouble codes. In some cases, the light might indicate a small issue, like a loose gas cap; in other cases, it might indicate more serious internal computer issues. Because of this, it is essential to pay attention to the warning light and the vehicle’s driving behavior.
Is your engine misfiring or stalling?
When the ECM begins to malfunction, one of the most annoying symptoms is engine misfiring or stalling. This happens because the engine receives the wrong signals, which disrupts the exact timing of the fuel, air, and spark. If you are idling at a stoplight while driving, you might notice that the engine sputters, jerks, or shuts off entirely. These issues can be frightening and even dangerous especially in Thailand used cars, if they occur in crowded traffic or on the highway.
This symptom is particularly confusing because it tends to be inconsistent. The car might run perfectly one day and then struggle to stay on the road the next. Drivers are often confused by this unpredictable nature because it lacks a clear pattern. If there is no obvious mechanical explanation for misfires or stalls, such as damaged spark plugs or issues with fuel delivery, it is worthwhile to investigate whether the ECM is the cause.
Are you facing perceived issues with performance?
A malfunctioning ECM can also cause your car to feel suddenly slow or unresponsive. The ECM in your Toyota Land Cruiser pickup is designed to maintain the optimal fuel-to-air ratio and ensure precise timing so that the engine can produce consistent power. When it malfunctions, it throws off this balance, which leads to insufficient acceleration, hesitation when pressing the gas pedal, or a general lack of power. For those who drive regularly, it is hard to ignore these performance drops.
When you try to merge onto a highway or tow a load uphill, imagine your car struggling more than usual. This lack of responsiveness is a blatant sign that the ECM is not controlling engine performance effectively. Even though other issues like clogged filters or failing fuel pumps can also reduce power, a failing ECM becomes a very likely suspect when combined with other symptoms like stalling or warning lights.
Is your car’s fuel efficiency is dropping?
If you suddenly find yourself visiting the gas station more often, it could be the ECM. Because the system regulates how much fuel enters the engine, even a slight calculation error can cause it to burn more fuel than is required. As you spend more money on gas, this gradually accumulates and becomes visible in your budget. Drivers who track their mileage are often the first to notice this change, even before other symptoms show up.
The delicate balance between efficiency and operation is upset when an ECM malfunctions. The engine may run too rich if the computer doesn’t provide precise input, using more fuel than is required for the amount of air present. In addition to being expensive, this can raise emissions, which could result in environmental issues or failed inspections. When abnormal fuel consumption is detected early, you can connect the dots before the ECM fails entirely.
Is your car refusing to start smoothly?
A malfunctioning ECM may be the most serious symptom when the car simply won’t start. Due to inadequate air, fuel, and spark management, the module has malfunctioned so severely in this instance that the engine cannot turn over. In the event that the ECM is not coordinating the required components, the engine may crank but not start. This is when many drivers realize how important the ECM is.
A no-start condition does not necessarily indicate that the ECM is dead, though.It’s important to keep in mind that an ECM failure does not always mean that the system is dead. The cause may be a depleted battery, a problem with the fuel system, or a broken ignition switch. However, when paired with other symptoms like misfires, performance issues, or warning lights, a complete failure to start increases the likelihood of a failing ECM. Professional diagnostics are usually used to confirm this before replacing such a costly component.
Everything You Need To Know About Brake Sequel Reverse In Your Car

Do You Have A Nail In Your Tire? This Is What You Must Do

5 Things That Tell About A Bad Engine Control Module In Your Car

What Your Used Motor Grader’s Previous Job Tells You About Its Future
How John Deere Motor Graders for Sale Address the US Labor Shortage
Jeddah Airport to Makkah Transport: A Hassle-free Journey
-
Construction3 months ago
What Your Used Motor Grader’s Previous Job Tells You About Its Future
-
 Automobile4 months ago
How John Deere Motor Graders for Sale Address the US Labor Shortage
-
 Automobile2 years ago
Jeddah Airport to Makkah Transport: A Hassle-free Journey
-
 Construction4 months ago
Maintenance Costs of Owning a Used Volvo Motor Grader
-
 Construction5 months ago
Caterpillar’s Heavy Machinery for Sale: Drop in Q1 2025
-
 Education3 years ago
How to Support Student Mental Health in the Classroom
-
 Construction3 months ago
Why Used Motor Grader Demand Is Rising in Developing Countries
-

 Technology1 month ago
AI Detecting Technology – Preserving Authenticity in the Digital Frontier